SMTP stands for Simple Mail Transfer Protocol. It’s the protocol that mail servers use to send and receive email messages.
Let’s break it down into simple steps to set it up on your WordPress site.
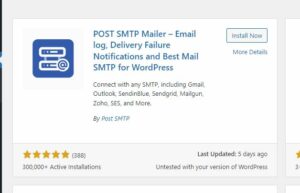
Step 1: Install the Post SMTP plugin
While many plugins are available for setting up SMTP, I will use the “Post SMTP” plugin in this guide.
Install and activate the Post SMTP plugin.
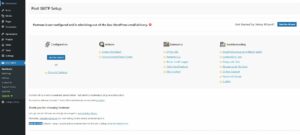
Select Setup Wizard
Enter the email address and name you’d like to send mail as.
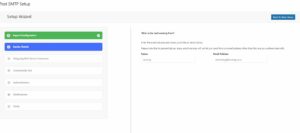
Note: To avoid misuse, many email services won’t let you send from a different email than the one you’re authenticated.
For the outgoing mail server hostname, consult your web hosting provider and help setup the SMTP. If they don’t offer one, don’t worry! I’ll guide you on setting up a third-party email service like Brevo (formerly known as Sendinblue).

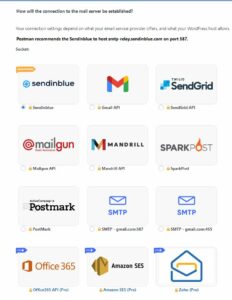
Step 2: Choose Your Email Service Provider
In the Post SMTP settings, select “Sendinblue” and click “Next.”
Now, you’ll need the Sendinblue API key.

Go to brevo.com and either login or sign up for an account.
In the dashboard, navigate to the profile settings on the top right, and select “Senders & IP”.
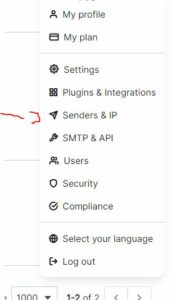
Click on “Senders” and add the email you’re using to set up SMTP.
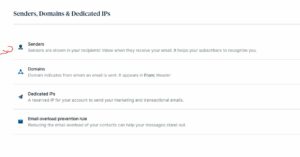
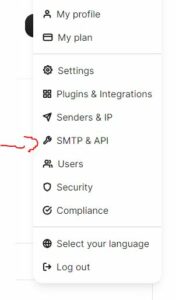
Navigate to “SMTP & API” to generate an API key.
For a detailed guide on creating an API key with Brevo, check out: Brevo’s Help Guide.
Return to the Post SMTP settings on your WordPress site, insert the API key you just generated, and click “Next”.
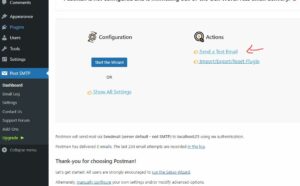
Your SMTP is now configured! Head to the Post SMTP dashboard and send a test email to ensure everything has been set up correctly.
That’s it! You’ve successfully set up SMTP for your WordPress site using the Post SMTP plugin and Brevo.